DIY Concrete Cup Holder
If you ask me, i of the best parts about beingness a crafty person is that you can combine your creative skills and then well with your need for practical things around your firm. Certain, the little bits and bobs that I demand at abode are ordinarily things I could very easily just buy in a store, just I've e'er found the process of making things for myself so much more satisfying than just shopping. I'k also the kind of person who goes on full kicks and sprees with certain materials or types of crafts, using that particular technique to make just about anything in a long phase until I move onto loving something else. That's why, when I went to put a glass of water on my nice wooden java table and realized that I've lost or broken all of my purchased coasters and loving cup holders, I decided to brand some more for myself using my latest favourite DIY tool: fine particle concrete mix!
I'1000 likewise the kind of crafter who loves following other people'due south DIY tutorials. That's why, whenever I make something I'grand peculiarly happy with in the end, I besides similar to return the favour and make tutorials of my own that other DIY enthusiasts might follow forth and try their hand at if they like the look of my projection. Cheque out these step by stride instructions complete with photos! If you'd rather follow along with a video tutorial instead of written words, roll to the bottom of this post to observe but what you're looking for.
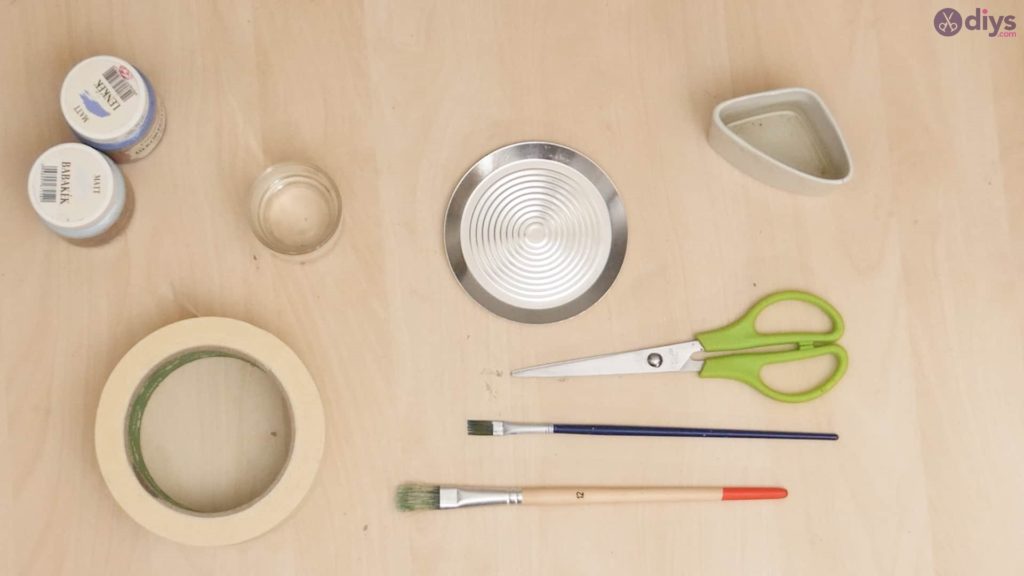
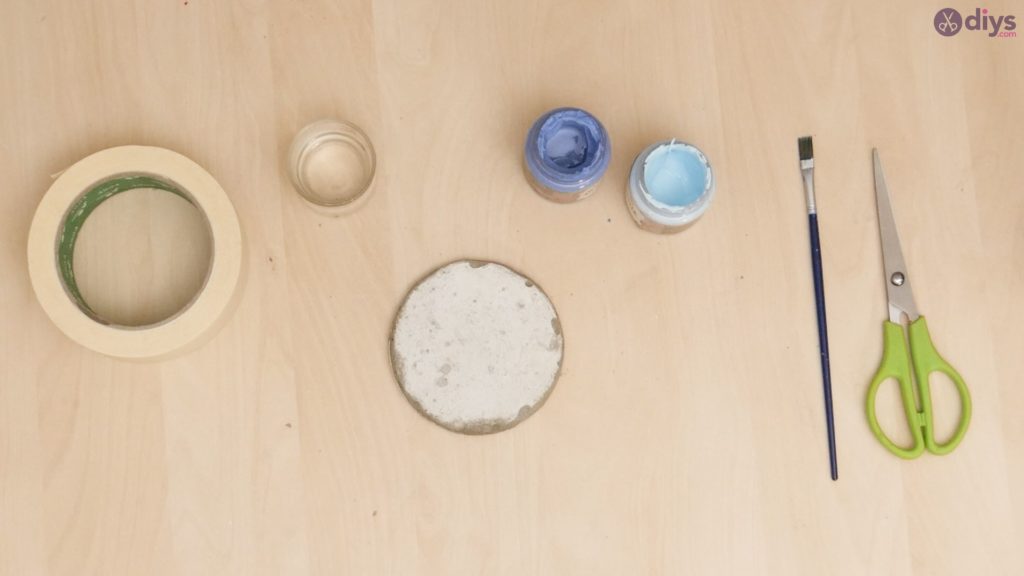
For this projection, you'll demand:
- DIY fine particle cement
- Water
- A spoon
- Pair of scissors
- Record
- Oil
- A paintbrush
- Acrylic pigment (bluish and imperial)
- A jar peak (or a small pie tin will likewise work)
Stride i:
Gather your materials!
Step 2:
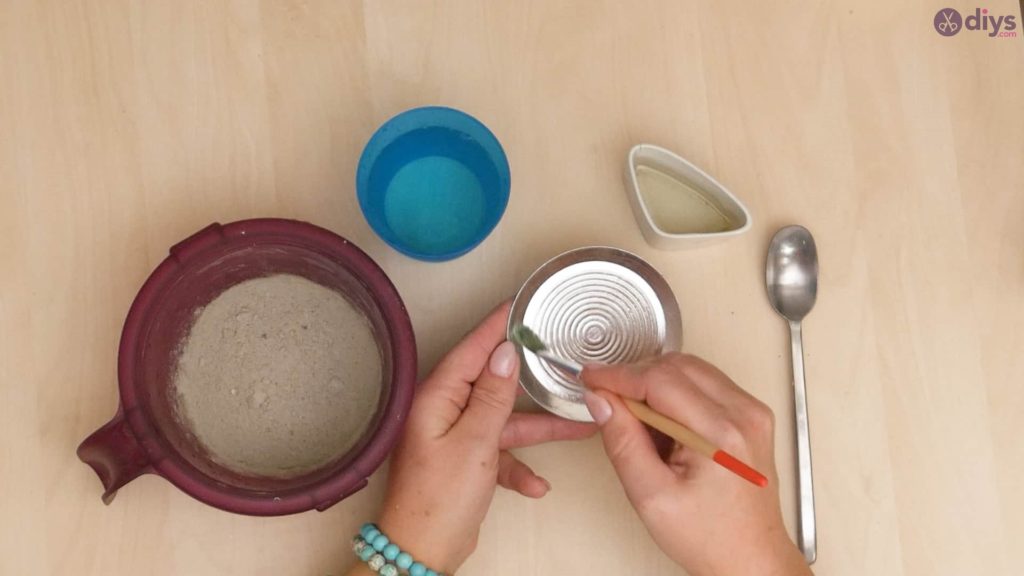
Utilize your paintbrush to coat the inside of your jar hat, small pie tin, or whatever you're using as a mold for your cup holder with oil. Cover the entire bottom and all of the sides well. This volition stop the concrete mix from sticking to the inside of your mold as it dries, making it much easier to remove at the finish.
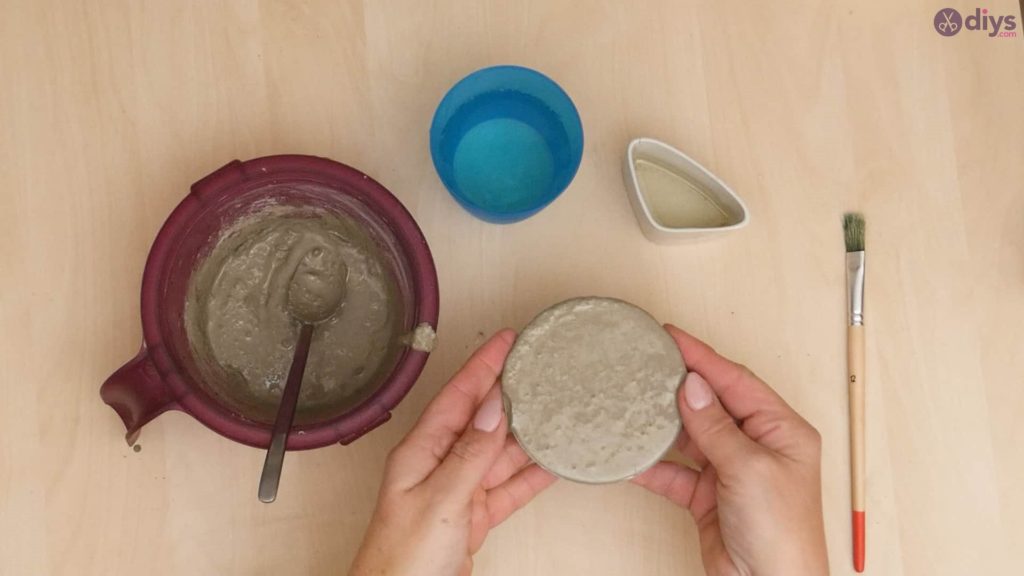
Footstep three:
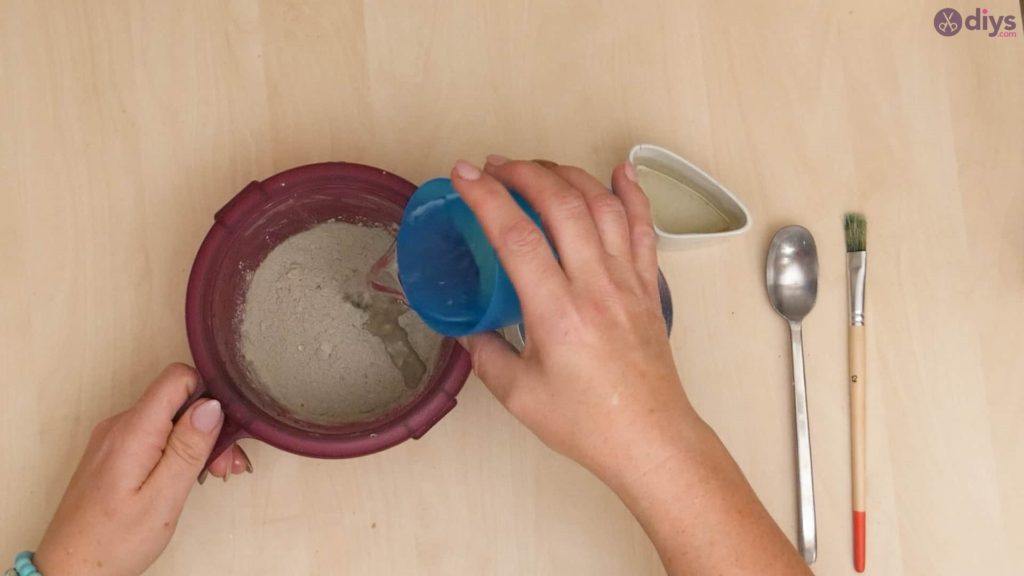
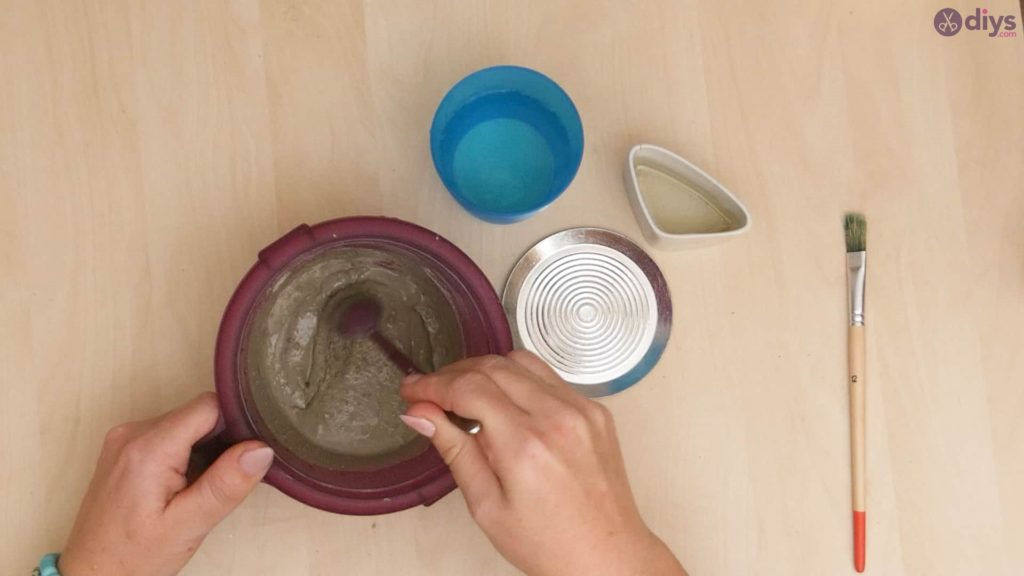
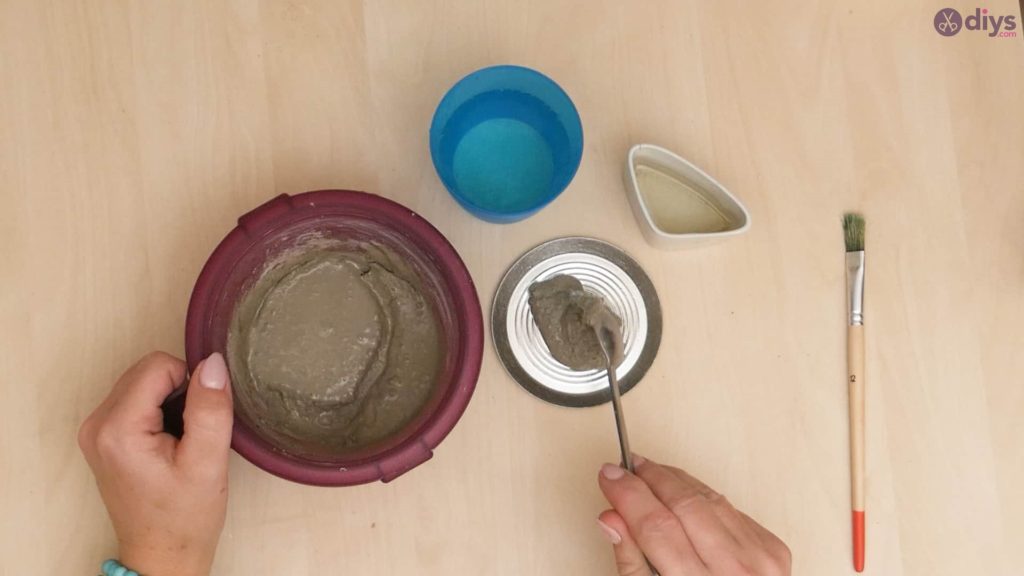
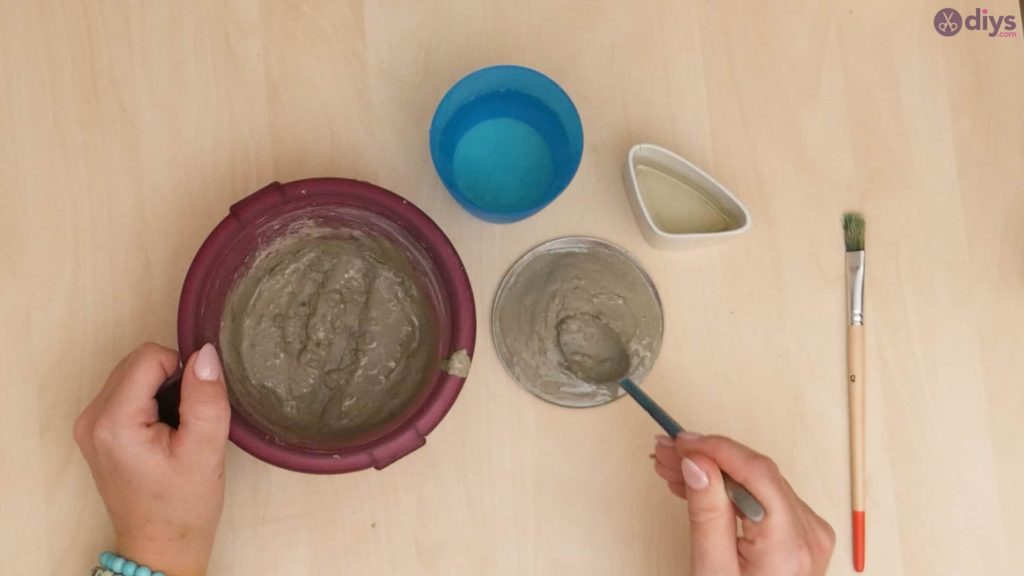
Mix your DIY fine particle cement! Pour your h2o into the powdered mix and stir information technology together with a spoon until you become the right consistency. Follow the directions on the dorsum of your package to get the right ratio of water to mix, since it tin can vary from make to brand. In one case your cement is mixed, pour it into your mold (the jar lid or pie tray y'all oiled earlier) and smooth the surface out with your spoon. You tin can likewise aid piece of work out air bubbles or clumps by lightly tapping the lesser of the tray on the tabletop until the surface is smooth. Set the cement aside to dry all the way through.
Step 4:
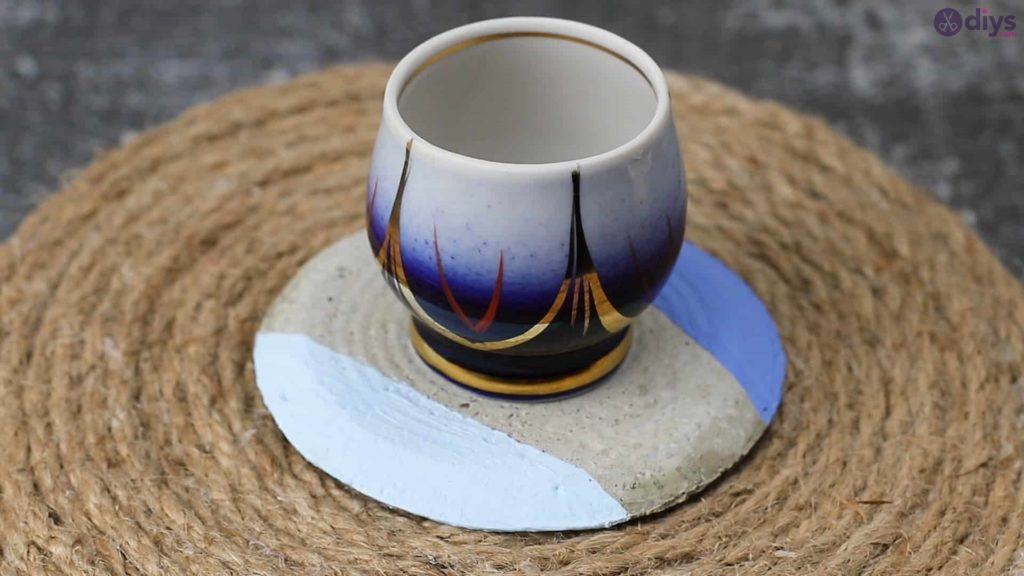
Once your DIY cement mix has dried all the fashion through, remove it from the tray or lid past flipping it upside downward. Yous might need to wiggle the piece a little bit, but the oil you put down before should help information technology come out quite easily. The flat surface that you smoothed with your spoon when you filled your mold will actually be the bottom of your loving cup holder or coaster, while the bottom of the mold, where the shape tapers, volition be the top.

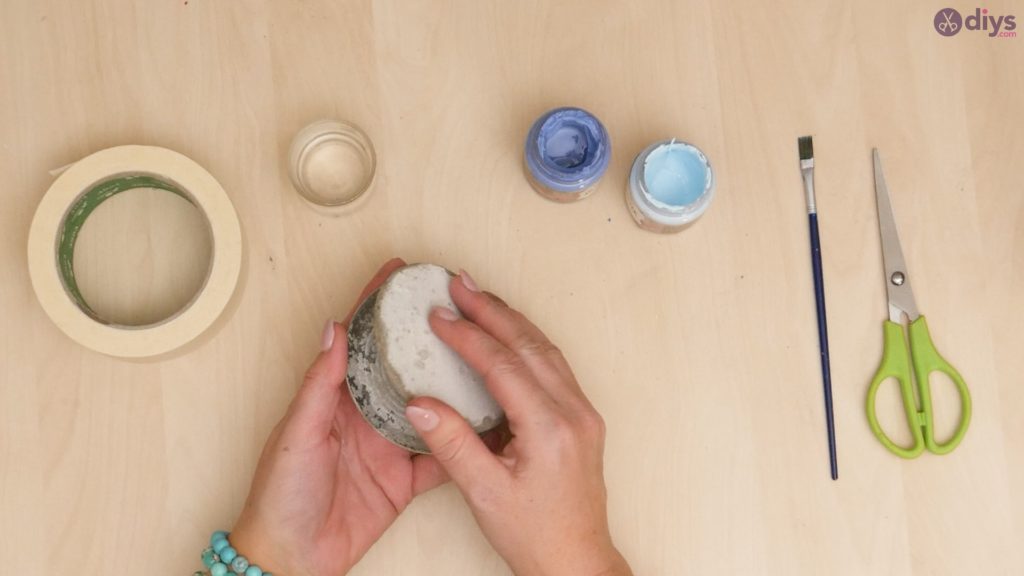
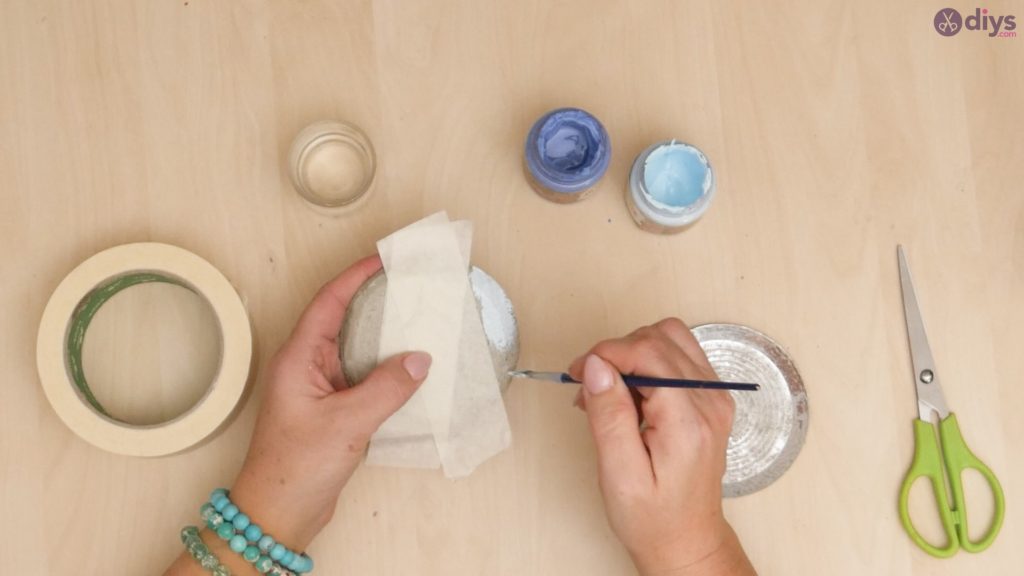
Step 5:
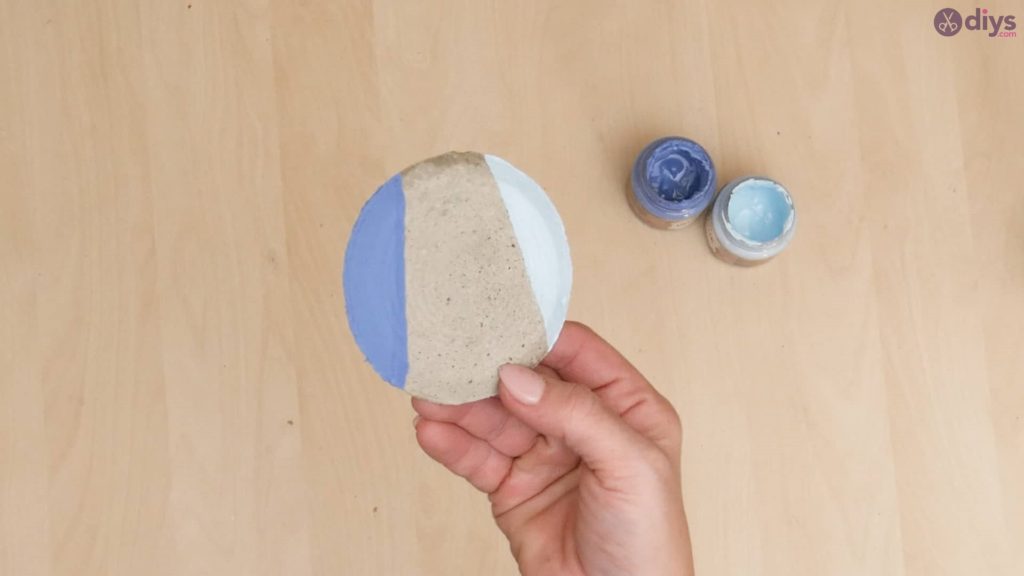
Apply tape downward the centre of your coaster on its top surface, fishing the sides on jaunty diagonals for a geometric await. This volition let you add colour to some parts of the surface just keep other parts of the physical obviously and industrial chic looking while still maintaining neat, straight lines. Apply your paintbrush to paint the concrete on i side of your tapes section blueish and the other side purple (or whatever colours you've chosen or similar best). Set up the painted coaster bated to dry.
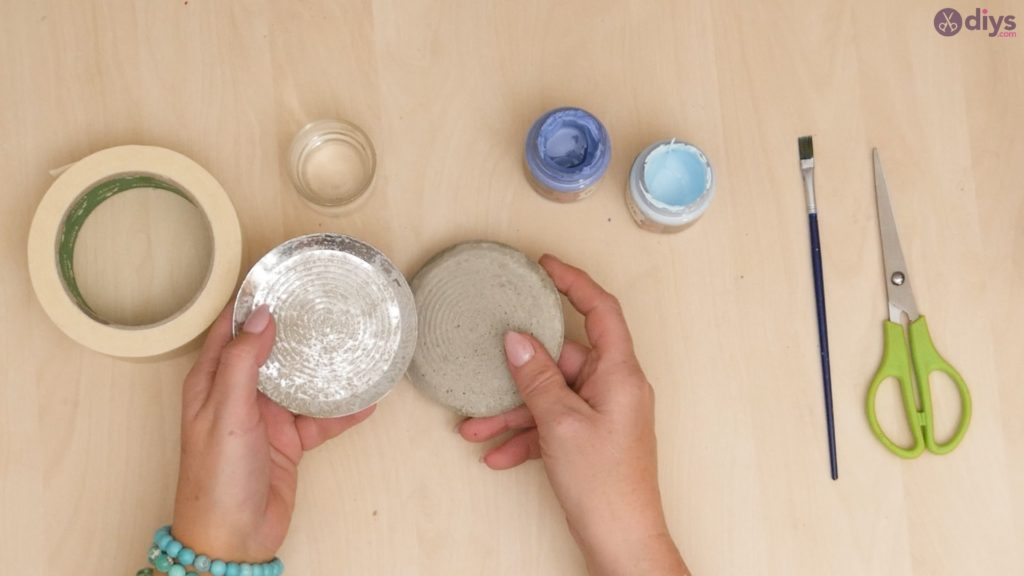
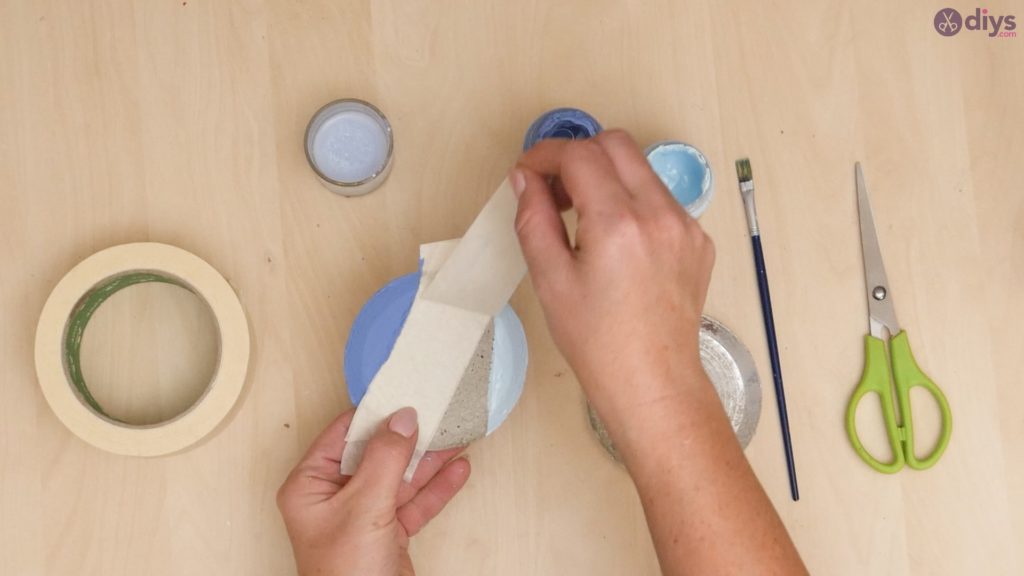
Step 6:
One time the paint has dried competelym carefully pare your pigment off to reveal the concrete section underneath. I liked the dissimilarity that painting some parts and keeping others manifestly and visibly made of cement creates!
If you're happy with your dual-coloured geometric pattern than you're all finished! Of course, y'all can feel free to apply this tutorial equally a bones guide in terms of technique but play with shape, colour, and painted detail every bit you please. Simply in case you'd similar to effort this project out for yourself, hither's a fantastic tutorial video to help you!
Source: https://www.diys.com/concrete-cup-holder/
0 Response to "DIY Concrete Cup Holder"
Post a Comment